
How To Build A Grow Room In A Shed
Austin Weaver - February 26, 2024
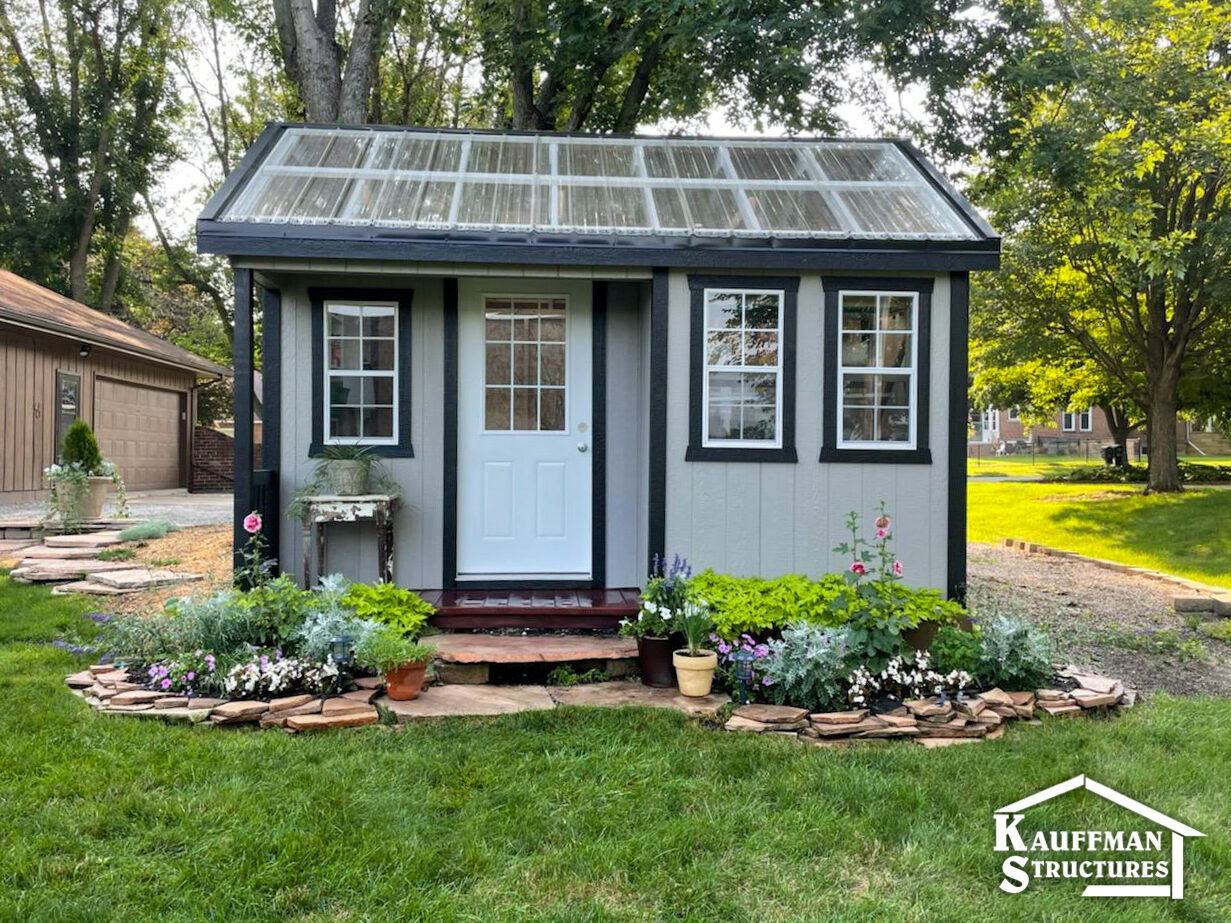
5 Easy Steps to Build a Grow Room in A Shed
Have you ever wondered how to build a grow room in a shed? Over the course of time, technology in agriculture has developed in ways to make the practice of planting, growing, and harvesting more accessible, affordable, and efficient for the modern-day farmer or novice gardener trying out their green thumb. Perhaps you have heard of various gardening trends including hydroponics and vertical gardening that are greatly influencing the agricultural industry. Growing has evolved to happen in more controlled and concentrated environments that reduce the heavy demand for land. From an ecological standpoint, that is a huge benefit to our earth. At the same time, people are mostly able to still grow what they would like.
Perhaps the most common question is this: how do you build a grow room in a shed? You can build a grow room in a shed by following these 5 easy steps that will allow you to effectively prepare your space to plant, nurture, and harvest your crops. These 5 easy steps are critical to the effectiveness of your grow room.
Step 1: Identify A Grow Room
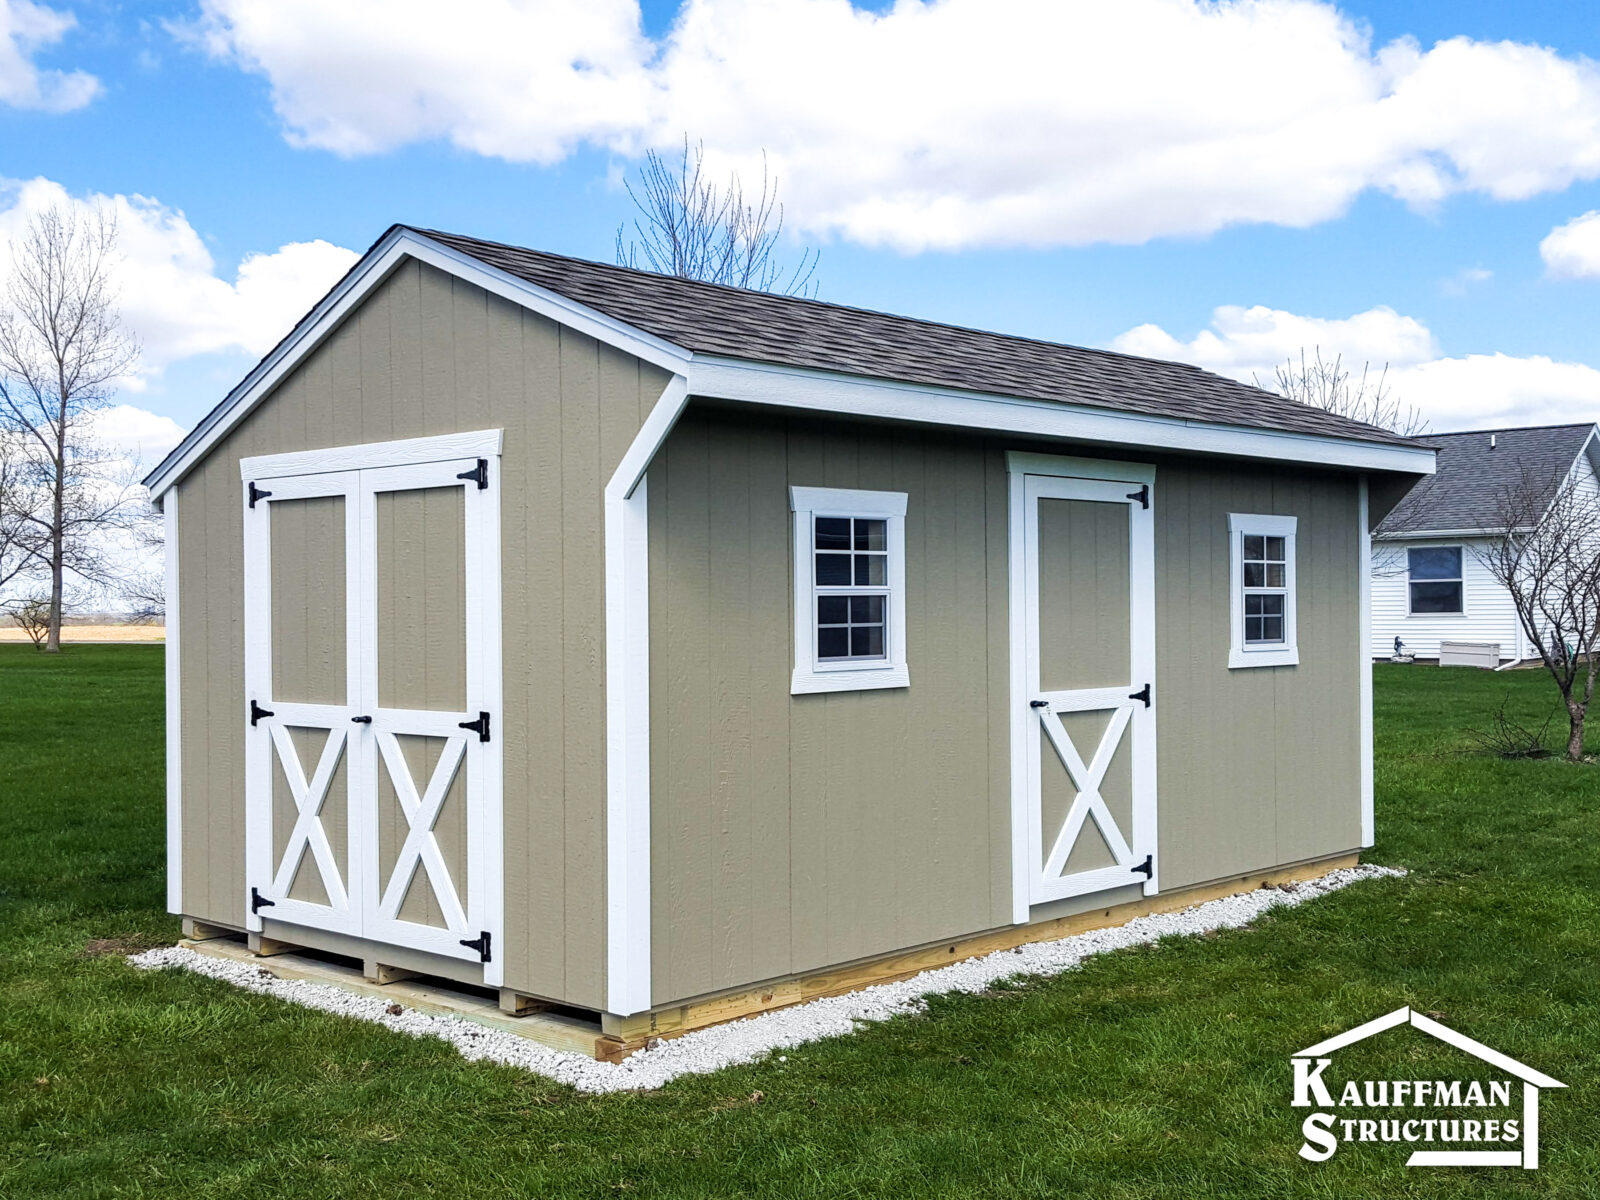
Identifying the proper space is a key element to starting a grow room. Not just any room will work so you will need to consider the following factors to make sure your room is qualified for growing plants. A grow room could be made from a small closet, part of your garage, or even a shed. In this case, we’re going to look at 5 steps you can take to build a grow room in a shed. We at Kauffman structures offer a variety of sheds for your grow room including the gable utility shed, carriage backyard shed, cottage wood shed, and the high barn shed.
Spacing: A key factor in identifying a room is spacing. Having an adequate amount of space in your shed is key to having a successful grow room. Sheds come in a variety of sizes at a variety of prices. Sheds can be as small as a 6×8 or go as large as a 14×30, or more! The pricing of a shed is all determined by its size and other customizations you decide to add to your shed. To learn more, get started on designing your own shed so you can get an estimate on a shed tailored exactly to meet your needs.
Electrical Source: You want to make sure that your shed is outfitted with electricity to plug in an exhaust fine, grow lights, and whatever other items you might need that require electricity for operation. Having some three-prong sockets will be useful to you.
Flooring: Be sure to give attention to the flooring that you are growing your plants on. Although your plants will likely be in a container, some spiling may occur as you are watering plants. Also, some water may drip from the bottom of plants as the water runs down through the soil. You want to ensure the flooring is not carpet, as that can retain moisture which can lead to unwanted bacteria and fungi growing. This could have a harmful impact on your plants.
Water Source: You will need to find a water source for your grow room. One option is you could install plumbing to provide a water source to your shed. However, the most cost-effective route would be to use a water house that you may already have in your yard for watering.
Step 2: Create A Light Tight Environment
Imagine sleeping in your room at night while it is completely dark and suddenly a burst of bright light broke into your room. Wouldn’t that be startling? Or better yet, if you’ve worked an overnight shift, you know the importance of having a blacked-out room when trying to sleep in the morning.

This experience is the same for plants. Plants rely on a consistent supply of lighting to grow to their best. That consistency must be in the frequency of lighting as well as the type of lighting.
In a grow room, you will be using grow lights. Therefore, you will need to seal any cracks or crevices in your grow room that would allow for natural light to enter. This can be done by using Mylar or Orca reflective sheeting. Reflective sheeting can be placed along the walls of your shed to retain the light emitted from the grow lights while at the same time reflecting off external light that would interrupt the grow lights.
Step 3: Configure Room
Now it is time to set up your shed to convert it into a grow room. In this stage of the process, you can configure your shed to accommodate the number of plants you decide you’d like to plant in your shed.
Couple of things to keep in mind:
You’ll need multiple grow lights for multiple cases of plants. You’d also want to ensure you give yourself plenty of walk space. When configuring a room, you also have the option of creating a room inside of the shed to have an even more controlled grow room.
At the end of the day, a grow room doesn’t require much design when you’ve decided it will be in your shed.
Step 4: Obtain Grow Lights
What are grow lights? Grow lights are lights that are designed to cultivate growth in plants. Grow lights overall are comprised of three components: ballast, lamp, and reflector. Ballast helps to manage the amount of energy used to power the light. The lamp produces the light. Finally, the reflector guides the light towards the plants.
Grow lights also come in four kinds: compact fluorescent lights, high-pressure sodium lights, metal halide lights, and light-emitting diode (LED). Each of these lights is effective in its own way depending on the stage of growth a plant is in. Grow lights overall are also designed to focus their efforts towards the plants they are over.

Light-Emitting Diode (LED) Lights: LED lights are good at cultivating the growth of plants in every stage of the growth process. LED lights also are designed to be energy efficient which can help save you money on your electric bill. Secondly, LED lights do not emit heat because they do not become hot when they are operating. LED lights are a convenient option for growth lights.
Compact Fluorescent Lights: Compact fluorescent lights are best for cultivating growth in seeds. This would be a light for the 1st phase of growth.
High-Pressure Sodium Lights (HPS): High-pressure sodium lights are ideal for plants in the flowering process of their growth. This light offers a high light intensity in the orange spectrum.
Metal Halide Lights (MH): Metal halide lights are good for when your plants are reaching their peak growth, this light works best. For plants in their vegetative state, this light becomes effective in cultivating growth as it provides adequate lighting from the blue spectrum.=
Having the right lighting is key. Obviously, if you use the compact, HPS, or MH type of lighting then you will need to pay closer attention to the growth process of your plants so that you can adjust the light accordingly. Meanwhile, using LED lighting will not require any light adjustments, making the process for you a bit easier.
Step 5: Air Exchange System
Having extractor fans and intake fans in your shed grow room allows you to have a good grow room ventilation system. The photosynthesis process plants undergo includes plants intaking CO2 in order to grow, meanwhile releasing moisture into the air. The grow lights you use will also produce heat in the room. Therefore, having an air exchange system in your grow room will help prevent you from having hot, moist, sitting air that is depleted of CO2.
An air exchange system is comprised of having an extractor fan and an intake fan. As the extractor fan pulls out the sitting air, the intake fan helps to bring fresh air. This process helps to maintain a level of clean air in the shed while regulating the grow room’s humidity level. Healthy air exchange in a grow room is also known to produce healthy plants while reducing the chance for diseases to overtake plants.
When considering the placement of fans, consider that the north-facing rooms are typically cooler than south face rooms. Therefore, you may want an extra fan for a south-facing grow room as compared to a north-facing grow room. This way, you maximize their use.
Ready To Start Growing!
Starting a grow room can be an exciting adventure that reaps many benefits. Imagine being able to eat the fruits and vegetables you enjoy without being limited by season changes. Although you may not be able to grow everything in a grow room, it certainly makes a difference. Plus, having a grow room can help expand your gardening experience, especially if you’re a beginner. Remember, it takes 5 easy steps to get started on building your own grow room in a shed. The steps include identifying a room, making the room light-tight, configuring the room, obtaining grow lights, and establishing an air-exchange system. So, ready to get started on creating your own grow room in a shed? Well, the first step is making sure you have a shed. Get started on viewing our sheds today to see which one suits your need.
Other Blog Posts...
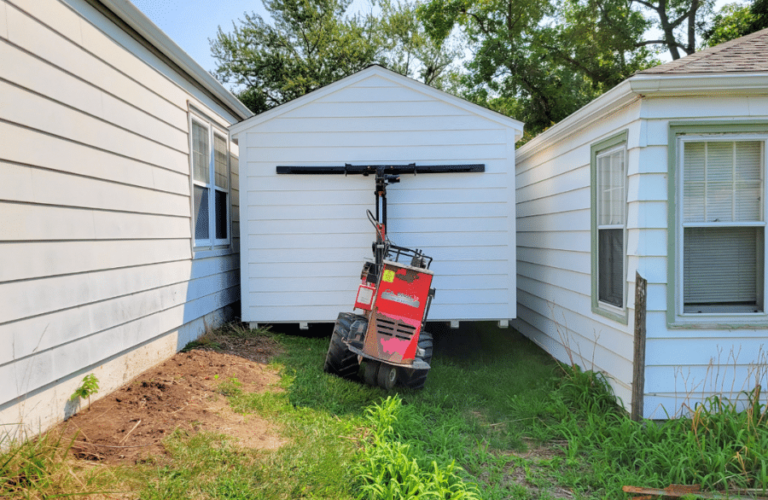
Shed Moving Permits Guide For Iowa, Missouri, & Kansas
Moving a shed might seem like a simple task that shouldn’t call for permits, but you’ll need one in most areas before changing its location. In this article, we’ll explain why this is the case and outline what Iowa, Missouri, and Kansas cities require so you can move your shed without worry.
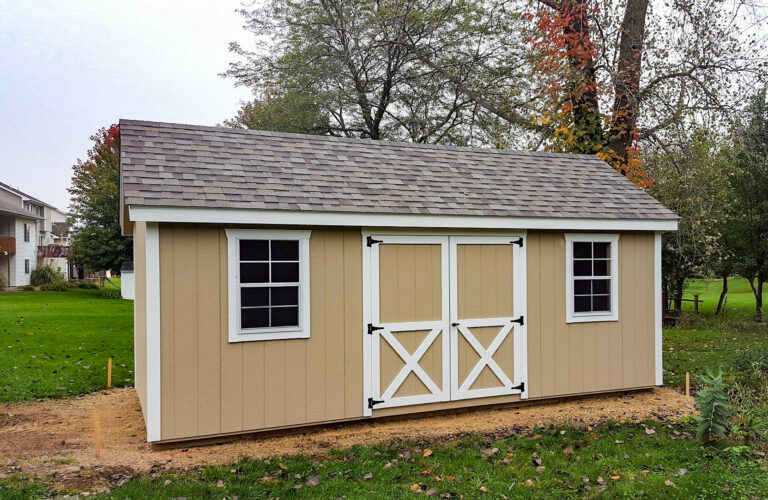
12×20 Sheds: A Complete Guide
One of our top-selling shed sizes, the 12×20 shed offers the perfect way to enhance your backyard or property. With its versatility, a 12×20 shed can serve various purposes, from traditional storage to serving as your hobby space or even a home gym or she shed.
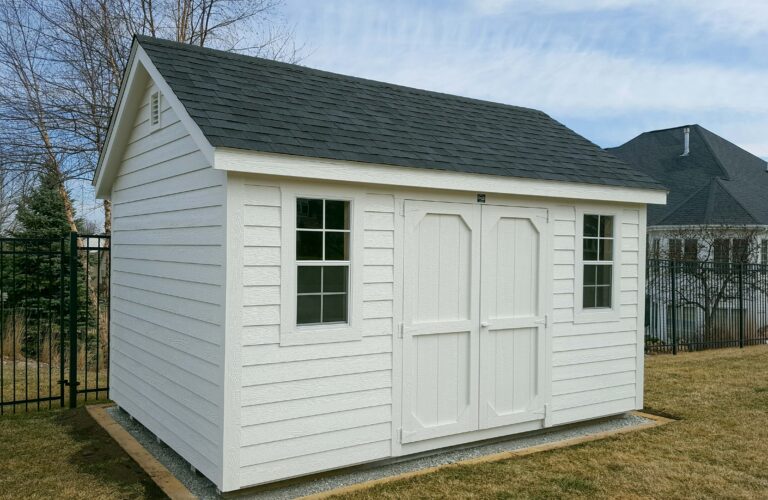
12×18 Sheds: All You Need To Know
One of our top-selling shed sizes, the 12×18 shed offers the perfect way to enhance your backyard or property. With its versatility, a 12×18 shed can serve various purposes, from traditional storage to serving as your hobby space or even a home gym or she shed.

